HUG-U-VAC Instructions

Step 1: Choose the Correct HUG-U-VAC Positioners
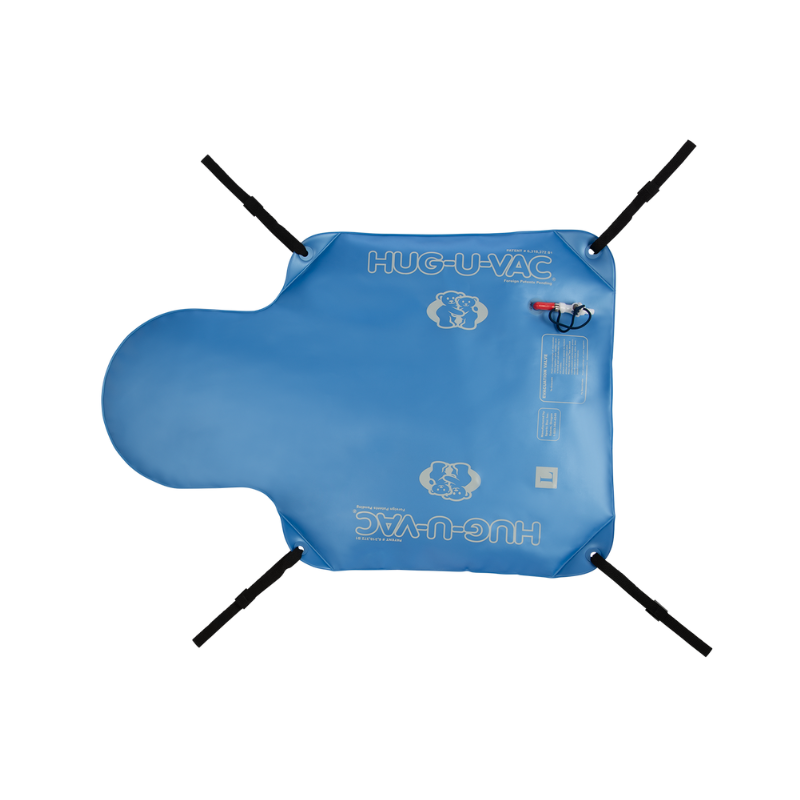
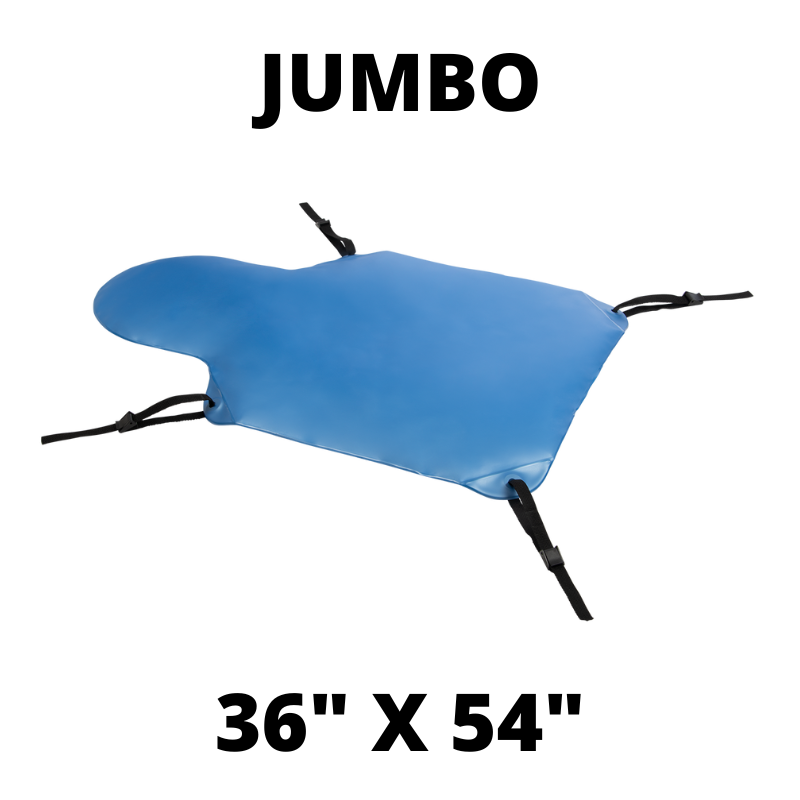
Of the different sizes, choose the appropriate sized HUG-U-VAC that provides secure support to the hips, trunk, head and neck. The ends of the HUG-U-VAC should extend several inches beyond the cephalad and caudad portions of the animal.

Step 2: Preparing HUG-U-VAC For Positioning
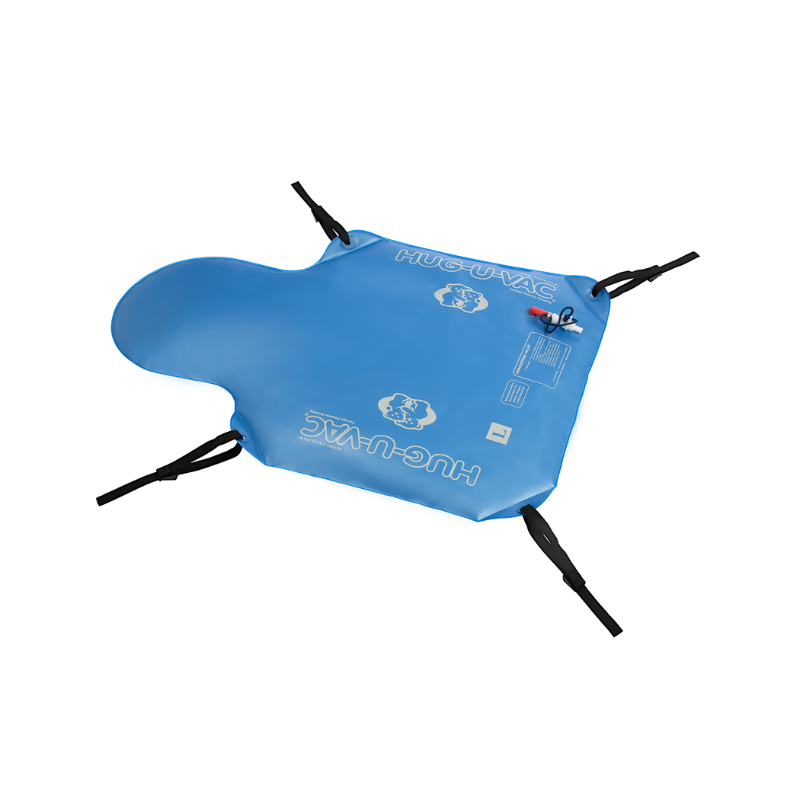
Lay the HUG-U-VAC on a flat surface. Spread out the beads throughout the HUG-U-VAC as evenly as possible.

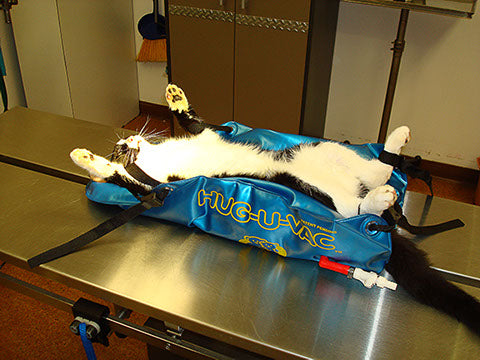
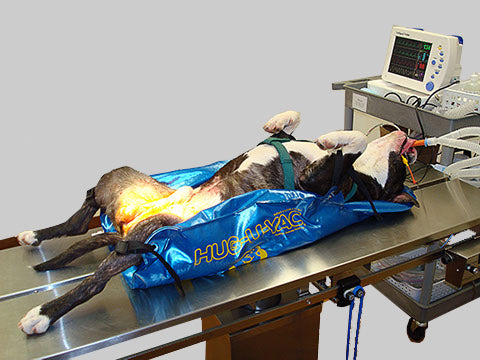
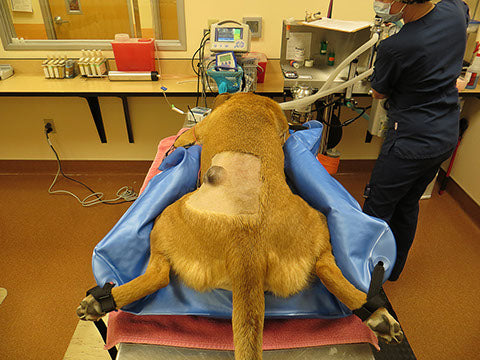
Step 3: Positioning the Animal
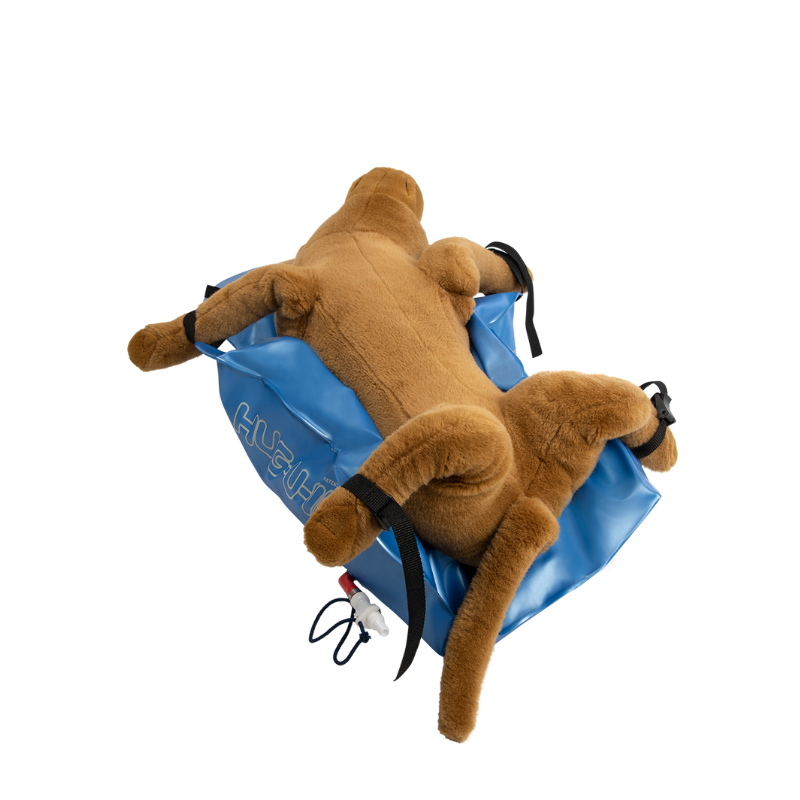
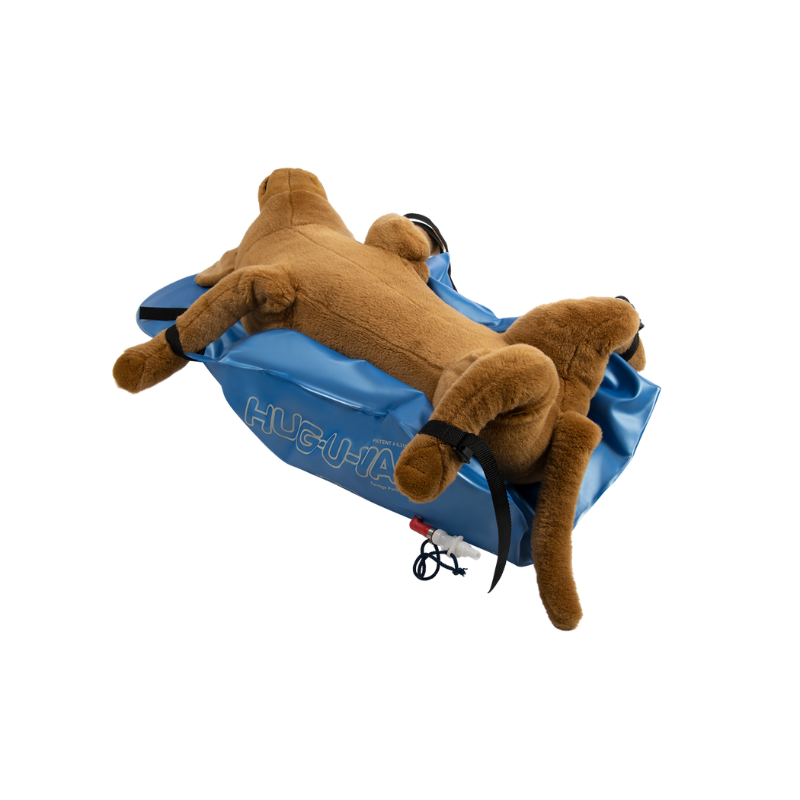
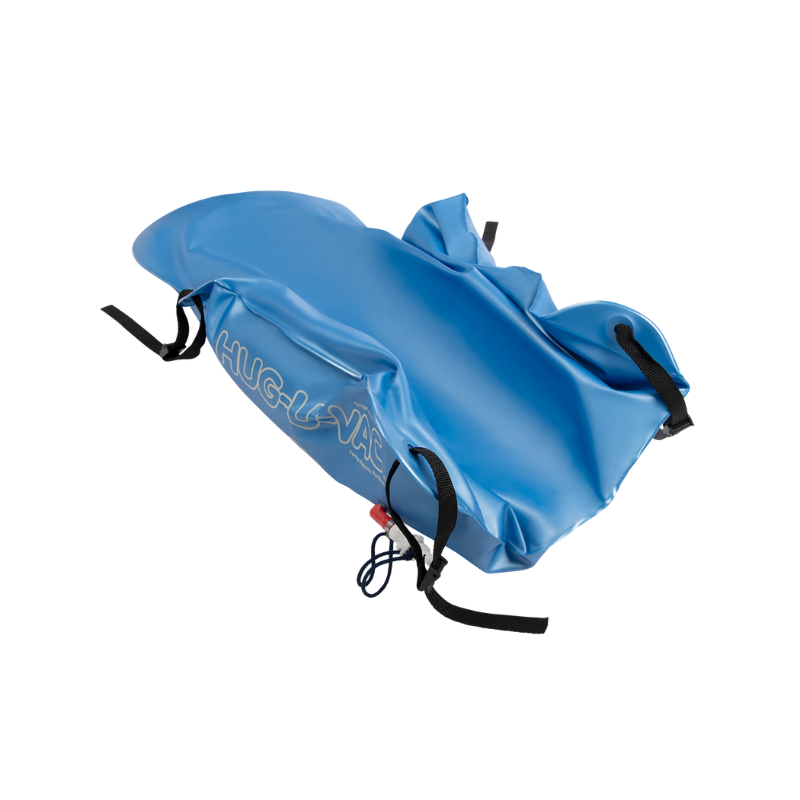
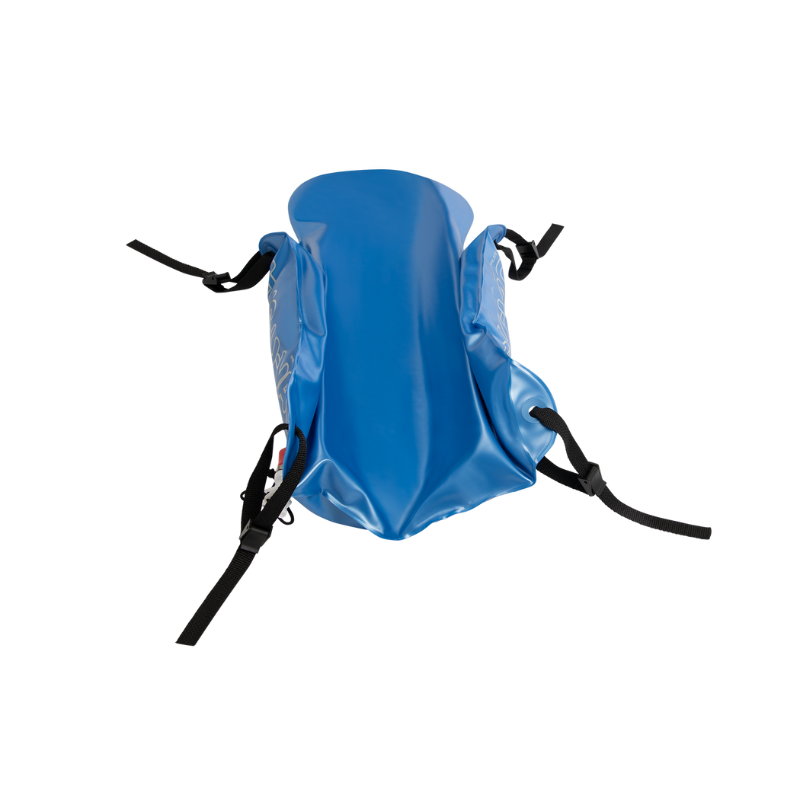
Place the sedated or anesthetized animal in the longitudinal center of the HUG-U-VAC. The HUG-U-VAC system is not a restraint system for struggling uncontrolled animals. Animals may be positioned in the ventral, dorsal or lateral position. Make certain that the head and neck are in the neutral position. When the desired position is achieved, fold up the sides of the HUG-U-VAC to snugly approximate the animal’s body contours. Take care not to impinge on the surgical field.

Step 4: Vacuum Activation Of the HUG-U-VAC Positioner
While an assistant snugly approximates the sides of the HUG-U-VAC to the contours of the animal, apply the vacuum in the following manner: Push the two couplings of the evacuation valve together until an audible click is heard and until the red indicator ring is not visible (OPEN position). Connect the hose from the manual HUG-U-VAC vacuum pump to the barbed end of the evacuation valve to evacuate the air from the HUG-U-VAC.

Step 5: Evacuate the HUG-U-VAC Positioner
Evacuate sufficiently to make the HUG-U-VAC firm to provide secure support to the animal. The firmness should equate to the firmness of the end of your nose. When satisfied with the achieved support, press the metal thumb latch to close the evacuation valve (CLOSED position). Then detach the vacuum hose from the barbed end of the evacuation valve. The HUG-U-VAC will then maintain its rigid shape. Control the limbs by securing them with the cam buckle restraint straps at each corner. Upon completion of use, push the two couplings of the valve together until an audible click is heard to open valve. Air is reintroduced to attain flaccidity of the HUG-U-VAC. The animal can then be removed from the HUG-U-VAC. The HUG-U-VAC can be cleaned with a germicidal spray as needed.

Step 6: Removing Vacuum Hose from the Valve
Do not force the Vacuum Hose too tightly onto the barbed end of the valve. When removing the Vacuum Hose from the barbed end of the valve, grasp the barbed end of the valve and the end of the Vacuum Hose attached to the valve with your thumb and index finger. Then gently wiggle them apart. Do not pull the Vacuum Hose and valve apart forcibly; you will break the valve.

After the valve is in the closed position, place the C-ring lock in the slot between the thumb latch and the valve barb until an audible “click” is heard. Then check the valve to make certain that it does not deactivate.


HUG-U-VAC
Animal Body Positioner
Share